

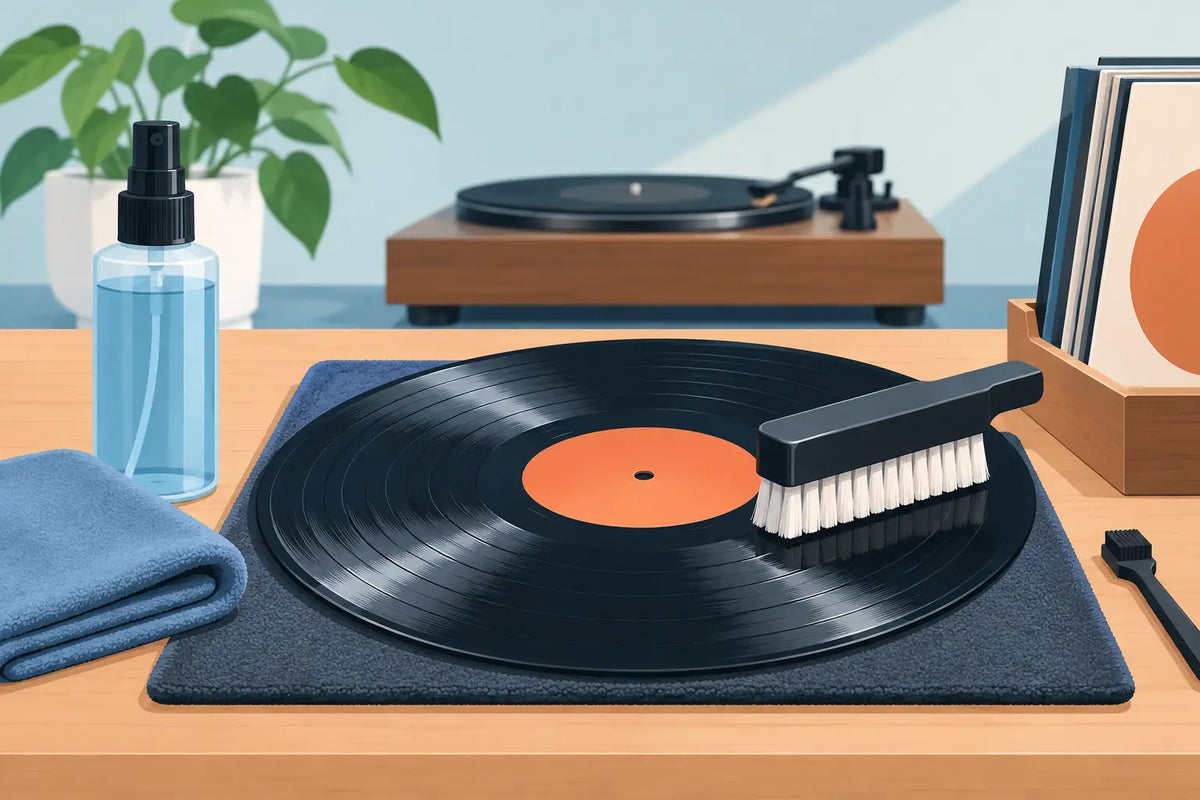
A record can look perfectly presentable and still sound as though there is a frying pan on the left channel. That persistent crackle between tracks, the faint veil over a vocal, or a stylus that seems to gather fluff after one side often comes down to contamination in the groove. This vinyl record cleaning guide is about restoring the quiet spaces around the music without taking risks with the records you value.
Cleaning is not merely cosmetic. A stylus traces microscopic groove walls, so dust, dried residue and static can all become audible. Left in place, abrasive particles may also increase stylus wear and gradually mark the record itself. A careful routine protects the pressing, the cartridge and that satisfying sense of hearing deeper into a familiar album.
Why clean records can sound more alive
Vinyl grooves are remarkably fine. What appears to be a light film under room lighting may be a mixture of airborne dust, paper fibres from inner sleeves, fingerprints, smoke residue and traces of old cleaning fluids. The stylus encounters all of it at speed.
The result is not always obvious clicks and pops. Contamination can soften transients, obscure low-level detail and make a system sound less open than it should. On a revealing turntable, cartridge and phono stage, the difference between a dusty record and a properly cleaned one can be striking: quieter backgrounds, better stereo focus and more natural decay around cymbals, acoustic guitar and room ambience.
There is a limit to what cleaning can achieve. Groove damage, pressing faults and wear from a damaged stylus will not wash away. But before assuming a beloved record is beyond saving, it is worth giving it a proper clean. Many second-hand finds improve dramatically.
The vinyl record cleaning guide: choose the right approach
The best method depends on the record’s condition and the size of your collection. A carbon-fibre brush is useful before every play, but it is maintenance rather than deep cleaning. It lifts loose surface dust and can reduce static, yet it will not remove oily fingerprints or residue lodged in the groove.
For records that are visibly marked, newly bought second-hand pressings or albums that have developed noticeable noise, a wet clean is the sensible next step. This can be done manually with a purpose-made record-cleaning solution and soft applicator, or with a dedicated cleaning machine.
Manual cleaning is affordable and effective when carried out patiently. Vacuum record-cleaning machines remove dirty fluid from the groove efficiently, reducing drying time and the chance of leaving contaminants behind. Ultrasonic machines use cavitation in a controlled bath to dislodge stubborn debris and can be especially appealing for larger collections. Neither machine type is automatically better in every home: vacuum cleaning is direct and proven, while ultrasonic cleaning offers convenience for batches of records. The quality of fluid, handling and drying still matter.
What to use, and what to avoid
Keep the process purpose-built. You need a clean, lint-free microfibre cloth for handling and drying around the label area, a dedicated record brush, record-cleaning fluid or a suitable concentrate mixed with purified water, and new anti-static inner sleeves for clean records.
Avoid household sprays, washing-up liquid, kitchen roll and tap water. Domestic cleaners can leave residues, while paper products may shed fibres or create fine scuffs. Tap water varies considerably by area and can deposit minerals as it dries. Do not use alcohol on shellac 78 rpm records, as it can damage the surface. If you collect 78s, identify the material first and use a cleaner specifically suited to it.
It is also wise to keep fluid away from the label. A little care here prevents staining, lifting or water ingress around the spindle hole.
A dependable cleaning routine
Start on a stable, clean surface with good light. Handle the record only by its outer edge and labelled centre, never by the playing surface. Before applying any fluid, use a carbon-fibre brush while the record turns on the platter. Hold it lightly across the grooves for a few rotations, then draw the collected dust towards the edge and away.
For a manual wet clean, place the record on a dedicated cleaning mat or clamp system rather than directly onto a dusty surface. Apply a modest amount of record-cleaning fluid to a suitable pad or brush. You want the surface evenly wetted, not flooded. Work with the direction of the groove, following its curve from the outside towards the label. Gentle contact is enough. Scrubbing aggressively does not improve the result and can move particles across the surface.
Allow the fluid a short dwell time if the product instructions permit it, particularly on records with fingerprints or visible grime. Then remove the fluid with a clean, lint-free cloth, again following the groove direction, or use the vacuum stage of a record-cleaning machine. Repeat for the other side.
Drying deserves patience. A record should be completely dry before it goes back into a sleeve. If using a manual method, allow it to air-dry upright in a clean rack rather than laying it flat where dust can settle again. With a vacuum machine, one or two controlled passes are generally sufficient. Over-vacuuming can increase static on some systems.
Do not forget the stylus
A spotless record can quickly become less spotless if the stylus is carrying debris. Inspect it regularly under strong light. A specialist stylus brush, used gently from back to front only, can remove loose fluff. Never brush side to side or from front to back, as that puts unnecessary force on the delicate cantilever.
For heavier deposits, use a stylus-cleaning product designed for your cartridge, following the maker’s guidance. Some cartridge manufacturers advise against certain fluids, so check before using them. If the stylus looks bent, worn or damaged, stop playing records until it has been assessed. A compromised stylus can cause permanent groove damage far faster than a little dust ever will.
Static is a separate problem
If a record crackles as it leaves its sleeve, attracts dust immediately or gives you a small shock when lifted from the platter, static is likely involved. Central heating, synthetic carpets and dry winter air can make this worse in UK homes.
A carbon-fibre brush helps, but anti-static inner sleeves make a meaningful long-term difference. Replace dusty paper sleeves, particularly those that leave fibres behind. An anti-static gun or ionising device can also be effective, although it is not a substitute for removing actual grime. Good record storage, sensible room humidity and clean sleeves are usually the first wins.
Your turntable setup plays a part too. Confirm that the turntable is correctly earthed where applicable, and keep the platter mat clean. Felt mats can hold dust, while rubber, cork and specialist composite mats have different sonic and handling characteristics. There is no universal winner: choose the mat that suits your deck and system, then keep it free from debris.
Store clean records as carefully as you clean them
Once a record is clean, put it into a fresh anti-static inner sleeve before returning it to its outer jacket. Store records vertically, supported without being packed so tightly that removing one becomes a struggle. Avoid lofts, garages, radiators and sunny windowsills. Heat can warp vinyl, while damp can encourage sleeve damage and musty contamination.
Keep the collection away from cooking fumes and smoke, too. These residues are surprisingly persistent and can settle into grooves and sleeves over time. A closed cabinet is helpful, provided there is no dampness inside.
New records benefit from a quick inspection even if they are factory sealed. Modern pressings can carry paper dust from packaging and release agents from manufacture. A light clean before the first play is not excessive for a carefully assembled hi-fi system - it is simply good housekeeping.
When a machine becomes worthwhile
If you are cleaning a handful of records each month, a careful manual routine may be all you need. If you regularly buy used vinyl, own several hundred albums or want to preserve a growing collection, a cleaning machine soon earns its place. It saves time, produces more repeatable results and makes it easier to hear whether remaining noise is dirt, static or genuine groove wear.
For higher-performance systems, this is one of the more satisfying upgrades because it lets the equipment you already own do its job properly. A well-set-up turntable can reveal remarkable texture and scale from an old pressing once the groove is genuinely clean. Yorkshire AV can help match a cleaning approach to your turntable, cartridge and collection, without pushing you towards more machine than you need.
The best habit is simple: brush before play, wet-clean when a record needs it, use clean sleeves and inspect the stylus regularly. Put on an album you know intimately afterwards, lower the cueing lever and listen for the moments that had been hiding in plain sight.


Share:
Multi Room Audio System for Better Home Listening