
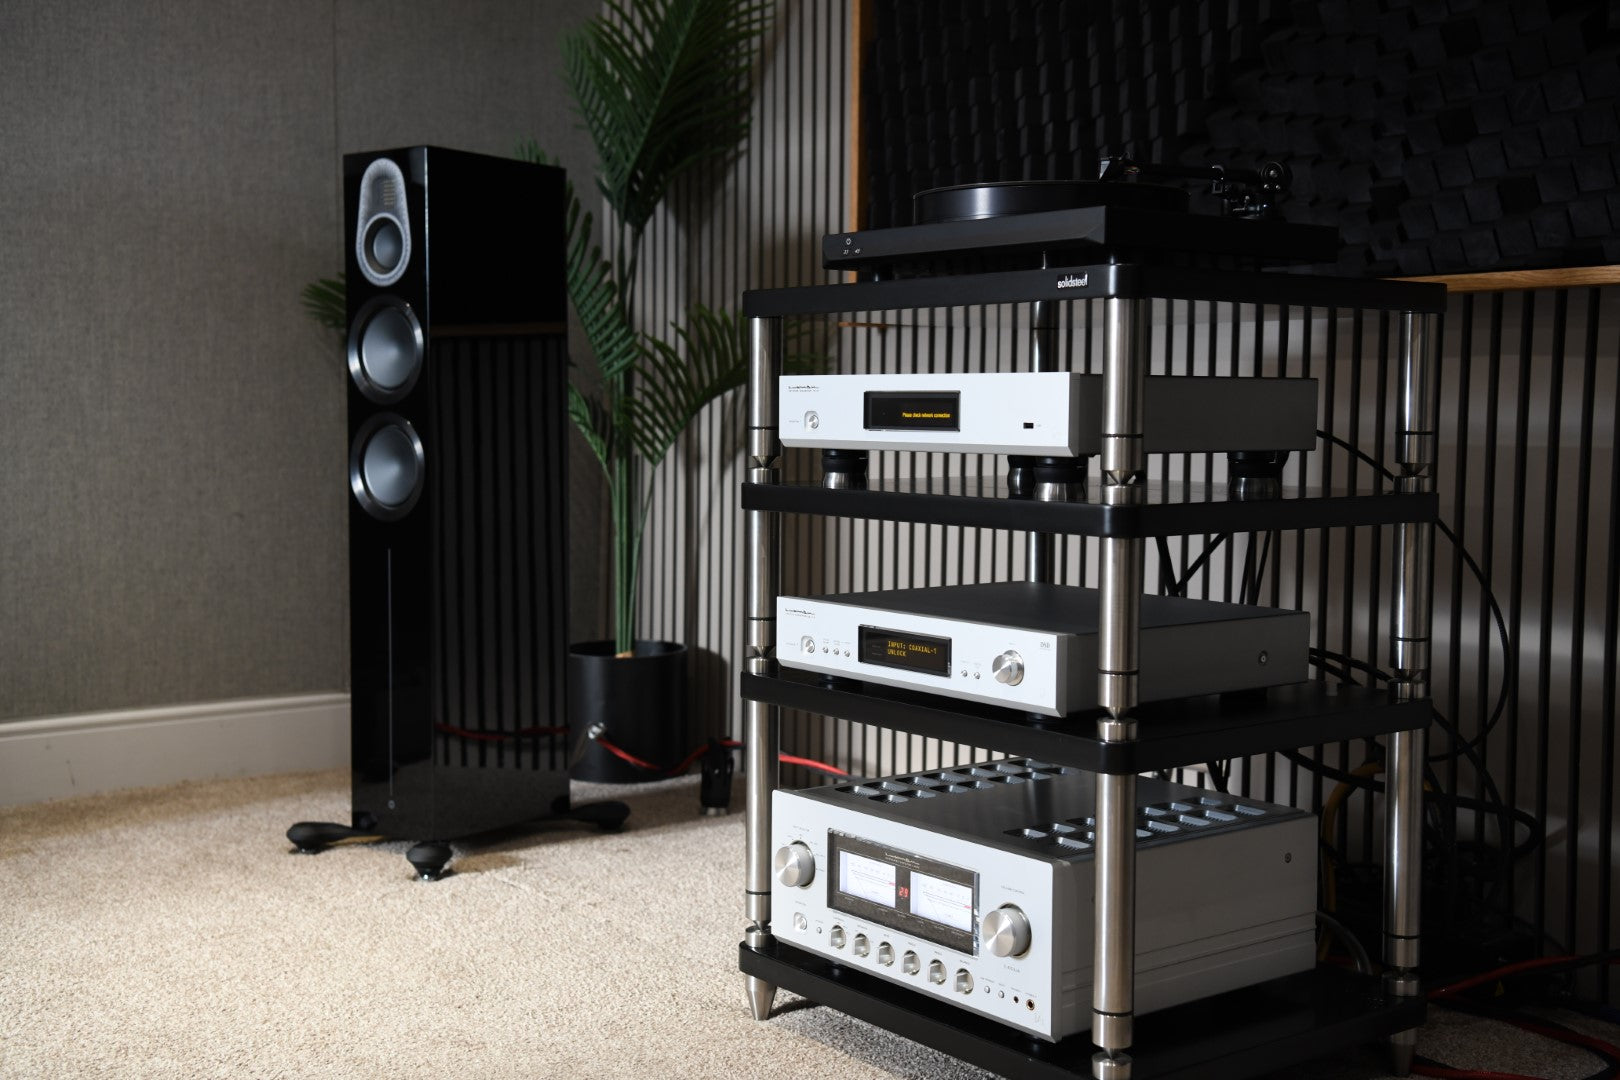
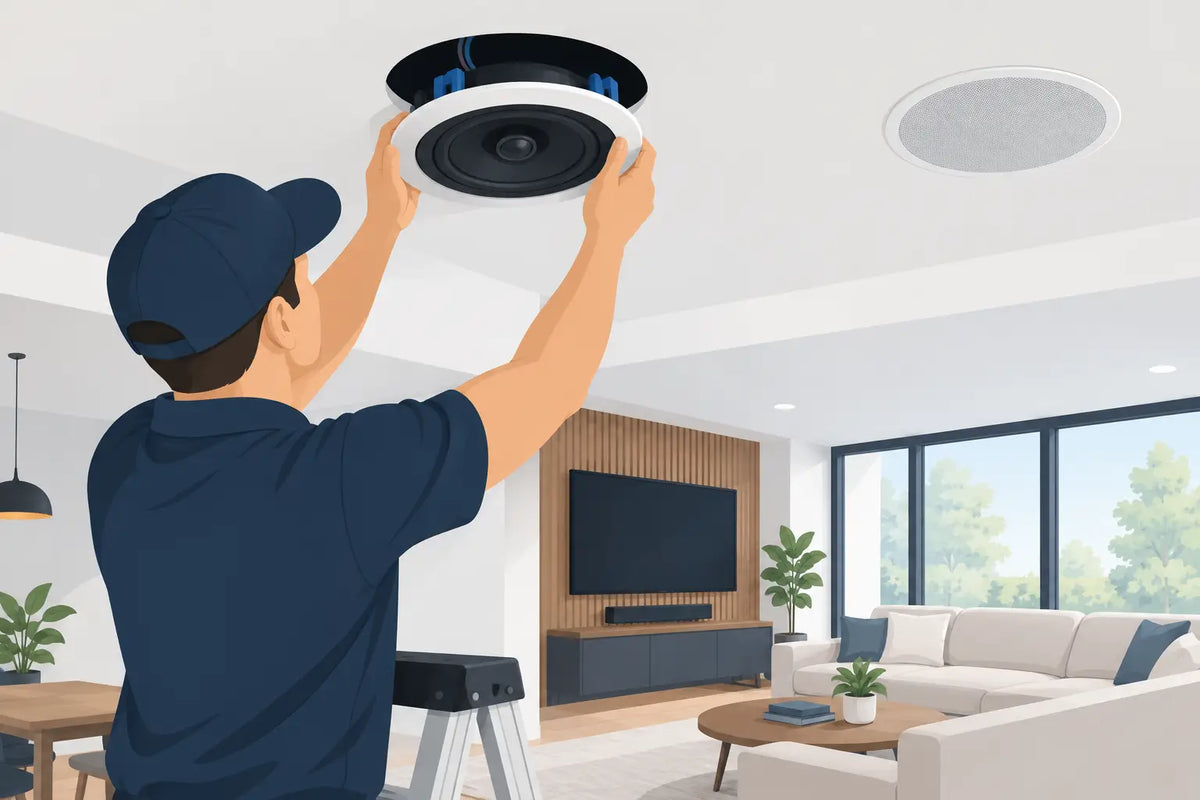
A beautifully finished ceiling can make a loudspeaker disappear. That is the attraction of in ceiling speaker installation: music fills the kitchen while you cook, dialogue stays clear in a cinema room, and the system earns its place without claiming visual attention. Yet cutting a circular hole is the easy part. The decisions made before the ceiling is closed determine whether the result feels effortlessly natural or merely loud.
For a premium home, the aim is not to put sound everywhere. It is to give each space the right level of coverage, clarity and control, with equipment selected around the room rather than forced into it.
Start with how the room will be used
A ceiling speaker can play very different roles. In a kitchen-diner, it may provide relaxed background music that remains even as people move between the island, table and seating area. In a bathroom, moisture resistance and sensible volume matter more than concert-level scale. In a dedicated cinema, in-ceiling models may handle Dolby Atmos height channels, adding the rain above a scene or the sweep of a helicopter across the room.
Those uses call for different layouts. A pair placed for focused stereo listening should not simply be copied from a multi-room kitchen plan. Equally, an Atmos layout needs to relate to the main seating position and the bed-layer speakers, not just land where there happens to be a convenient gap between joists.
It helps to decide early whether the system is for background music, serious listening, television and film, or a combination. A good design can accommodate several of these, but every compromise should be intentional. For example, ceiling speakers can produce impressively open, detailed sound, particularly in well-chosen architectural ranges, but conventional left and right loudspeakers at ear height will usually create a more convincing stereo image for dedicated listening. If music is a priority in a sitting room, a discreet pair of in-ceiling speakers may be ideal for secondary listening, while proper stereo loudspeakers remain the better main event.
In ceiling speaker installation begins above the plasterboard
Before choosing cut-out positions, establish what is in the ceiling void. Joist direction, pipework, electrical runs, ventilation ducting, insulation and access all affect what is possible. In older Yorkshire properties especially, ceilings can reveal unexpected construction once investigated. A compact speaker may fit where a deeper model will not, and moving a position by a few centimetres can avoid a joist without affecting coverage.
This is also the stage to think about future access. Where cabling passes through a loft or service void, it should be supported, protected and labelled at both ends. Leave sensible service slack rather than tightly stretching a cable across the void. It costs little during first fix and makes later servicing, upgrades and fault-finding far less disruptive.
Fire-rated speakers or suitable fire hoods may be required where the ceiling forms a fire barrier, particularly between floors. The exact solution depends on the property and speaker specification, so this is not an area for assumptions. Any mains electrical work should be completed by a suitably qualified electrician, and building-control requirements should be checked for the project.
Back boxes and acoustic control
The cavity above a speaker is part of its acoustic environment. An open void may give a speaker more apparent bass, but it can also lead to inconsistent performance, sound transfer to rooms above and rattles from loose materials. A purpose-designed back box provides a known air volume and helps contain sound, producing more predictable results.
There is a trade-off. Back boxes take room, can add cost and must be fitted carefully around joists and insulation. They are particularly worthwhile in bedrooms below bedrooms, flats, cinema rooms and installations where sound leakage matters. In a simple single-storey kitchen extension with easy loft access, the priorities may be different. The right answer follows the construction and the listening goal.
Choose placement for coverage, not symmetry alone
Symmetry looks satisfying on a reflected ceiling plan, but the room’s furniture and activity zones should lead the design. In a kitchen-diner, speakers are often best centred over the usable areas rather than arranged as a perfect square across the entire footprint. A speaker directly above a dining table can work well for gentle coverage, but placing one too close to a seated listener can make the presentation feel localised.
Speaker dispersion matters here. A model with a wider dispersion pattern can cover a larger area from fewer locations, while a more controlled design is useful when you want sound directed away from adjacent areas. Angled baffles are valuable where listeners spend most of their time in one defined zone, such as a breakfast bar, sofa or bed. They direct the higher frequencies towards the listener rather than straight down at the floor.
For stereo pairs, preserve left and right balance around the main listening area as far as the ceiling structure allows. For multi-room audio, consider whether open-plan spaces should be one zone or separate zones. Combining kitchen and dining speakers on one amplifier channel is straightforward, but separate zones give family members more control and often create a more polished day-to-day experience.
Planning Dolby Atmos ceiling channels
Atmos is where precision pays off. Height speakers should sit in relation to the main seat, with the angles and distances calculated alongside the front, centre, surround and subwoofer positions. They are not generic ceiling effects speakers. Their job is to complete a three-dimensional soundfield, so timing, level matching and AV processing all matter.
If the ceiling is high, vaulted or interrupted by beams, the speaker choice and mounting positions may need adapting. A specialist calibration can then align delays, levels and bass management so the room does not reveal where each speaker is located. The best result is not an obvious ceiling channel. It is the convincing sense that the soundtrack has no ceiling at all.
Match the speakers, cable and amplification
Architectural speakers vary substantially in sensitivity, impedance, driver size and tonal character. Larger models can offer greater scale and bass weight, but a smaller premium speaker correctly positioned and amplified can sound more balanced than an oversized model squeezed into the wrong location.
Use appropriately specified speaker cable for the run length and installation environment, and keep it separated from mains cabling where practical to reduce the risk of noise. In a multi-zone system, label every cable at the rack end and at the speaker end. It is an unglamorous detail that protects the investment when a room is redecorated or a system expands.
Amplification deserves equal attention. Four ceiling speakers connected to one stereo amplifier do not automatically present an easy load. Wiring arrangement, nominal impedance and the amplifier’s capability must be considered together. For larger installations, multi-channel amplification and proper zone control offer cleaner power, easier operation and more reliable long-term performance.
Where the system will be used for casual streaming, a straightforward app-controlled zone may be perfect. Where it sits within a larger home cinema or custom-install system, centralised control, AV processing and scenes can make the technology almost invisible: music in the kitchen, lights lowered, projector on, film ready.
Protect the finish and commission the system
Only cut the ceiling once positions have been checked from above and below, templates have been verified, and every cable has been tested. Use the manufacturer’s cut-out template, not an estimate. After fitting, ensure the speaker clamps grip securely without overtightening and damaging the plasterboard. The grille should sit flush, and if it is to be painted, use light coats so perforations do not clog.
Installation is not complete when the grilles are on. Listen for buzzes at low frequencies, confirm every channel is correctly assigned, and check that volume remains even as you walk through the room. In a cinema, calibration brings the system together. In a music zone, small adjustments to balance and volume limits can make the difference between sound that is merely present and sound people genuinely choose to live with.
A considered in ceiling speaker installation respects both the room and the people using it. Whether you are planning a quiet pair for the kitchen or a full Atmos cinema, begin with the experience you want to have when the room is finished. Yorkshire AV can help turn that early conversation into a system that looks discreet, sounds involving and remains a pleasure long after the renovation dust has settled.
Share:
Fabric Acoustic Wall Panels for Better Sound